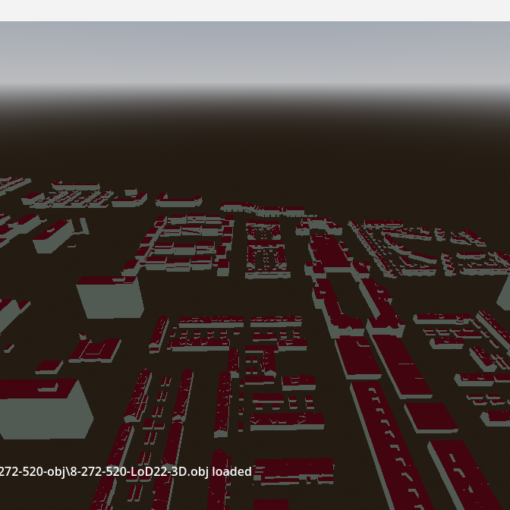
I usually use CloudCompare as viewer for point clouds, as it is really easy to visualize different point attributes. But when vectorizing features from point clouds, I want to display them as linestrings, not individual vertices. This is easily achieved by writing a text file with the extension .poly. The file format is one vertex per line, separated by space, with empty lines marking the beginning of a new linestring:
96447.562 440463.625 6.478

96447.617 440463.375 6.472

96447.750 440462.781 6.475
96005.625 440369.906 7.977

96005.914 440369.656 7.975

96006.086 440369.406 7.973
You can assign colors by selecting the file in the object tree and pressing Alt+C. The line width can be set by selecting individual lines and choosing a line width in the properties window.
If you also want to import linestrings into QGIS (from an ASCII file, i.e. without first writing e.g. a shapefile), this can be done with a csv file that uses the WKT format for geometry. Use ; as separator, and define field names in the first line with wkt for the column holding the geometry. For a linestring, the format is LINESTRING(x1 y1 z1,x2 y2 z2,..):
id;wkt

0;LINESTRING(96004.320 440360.281 5.062,96004.219 440360.250 5.060)

1;LINESTRING(96005.922 440360.594 5.061,96006.094 440360.625 5.058)
A file formatted in this way can be dragged & dropped into QGIS. If you want to view it in 3D, you first need to assign 3D symbology. If you want to use other geometry types, Wikipedia has an article describing the options.


