Azure is Microsoft’s Cloud Computing service. Like its competitors from Google and Amazon, it offers many different services – storage, databases, machine learning, virtual machines, and others. Some of the services are for free, others can be tested during a 12-month period. Upon signup, you get $200 of credit to use for getting to know Azure.
Signup requires a credit card. After completing signup, you can create your first virtual machine. You can choose from both Windows and Linux virtual machines. Several different OS versions are available, such as Windows Server 2022 and Windows 10 Pro. You also need to chose the (virtual) hardware that you want to use. There are many different options available, differing e.g. in the number of CPU cores and amount of RAM available.
Of the available options, the B1s configuration is available for free for 750 hours during the first 12 months. The first issue that I encountered was that it was difficult to find a data set that had B1s available – I ended up in Australia. The second issue is that this is a very basic configuration, with one cpu core and 1GB RAM. On my Windows 10 VM, this RAM was used up completely by the OS, so you probably want to stick to Linux – but even then, 1GB of RAM isn’t much. So it’s clear that this is a configuration that is more suitable to a bit of testing than actual production work, at least with Windows.
On a Windows VM, the Remote Desktop Protocol is enabled by default. This lets you access the VM Desktop from another Windows machine. Here the downside of being on a VM hosted in Australia became obvious, as using the desktop was very sluggish. Linux VMs can be accessed via ssh.You can either use username and password, or a public key file. On Windows, probably the best option to get ssh and a full set of Linux tools is the Windows Subsystem for Linux.
With Linux as OS, the B1s configuration has some usable RAM and disk space available:
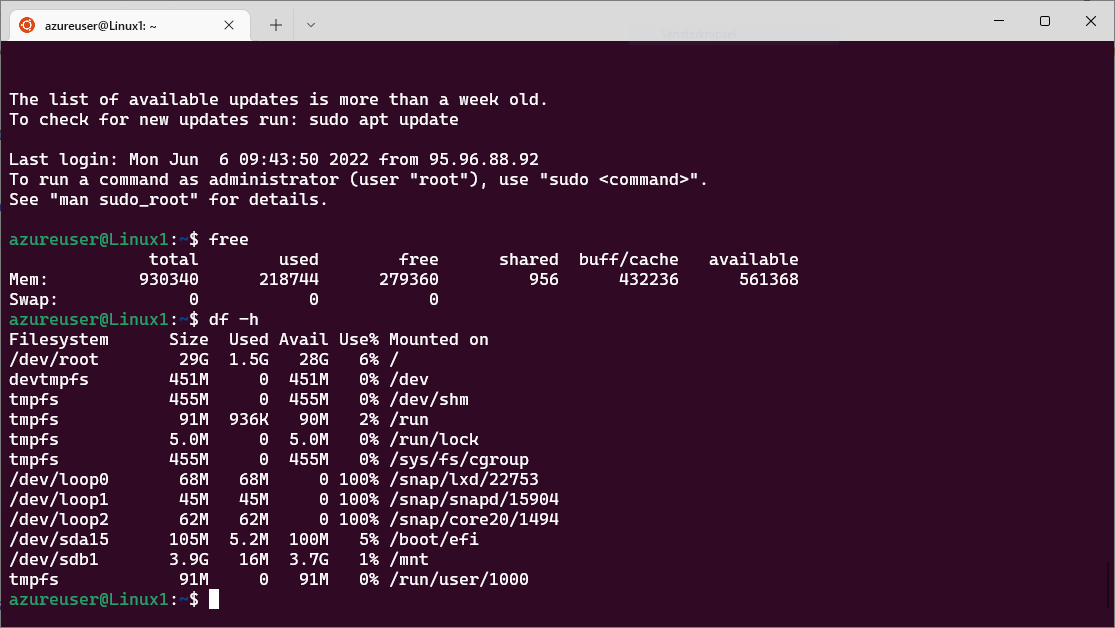
You can then use secure copy (scp) to upload data to the VM, or initiate an ftp connection from the VM to download data. From here on, you can use the VM like you would any other Linux PC – install software, run programs, and so on. Once you’re done, you can stop the VM to avoid it being counted towards your CPU use. Data stored in the root directory is persistent and will be available when the VM is restarted. Storage is of course charged towards your account, too. By default, the VM’s fixed IP address is not retained after a shutdown, but you can enable that you want to keep it.
